
Last but not least, the Orange Marmalade Rolls from Getting Lucky. This recipe is a little more complicated than the others, and unfortunately does require following the directions rather more carefully than the Caprese Pasta Salad or the Potato Leek Soup. I also didn't come up with this one--I had a lot of influence from The Pioneer Woman's recipe. Go check it out and make sure you use it for reference! Here's just one of the snippets that feature Maggie's Orange Marmalade Rolls--it was really hard to pick just one!

First, we're going to make the cinnamon roll dough. Here is the Pioneer Woman's recipe for her dough.
I actually halved this recipe and still ended up with three very full pie pans full of orange marmalade rolls. If you are making these as gifts (which is a great idea), you could easily make the whole recipe. I've never tried freezing at any point in this recipe, but I'm sure you could. My freezer is way too full to even contemplate this idea :(
Start with a large pot. Definitely make sure it's big enough if you are making the full recipe.

We start with milk. Pioneer Woman recommends whole milk.

Add in vegetable oil and sugar and bring to just below a simmer. Don't be like me and accidentally let it boil for like five minutes. Though the good news is if you're a total dumbass like me and do do that, your rolls won't taste any worse for the wear. Mine were perfectly fine!
Let the temperature of the milk mixture come down until it's just warm--not hot. Then add your yeast.

Make sure you use the right kind. So many of my baking experiments have been derailed by the wrong kind of yeast. Basically, what I'm saying again is don't be like me.
Add the entire packet of yeast to the milk mixture--or two packets, if you're making a whole recipe instead of a half.
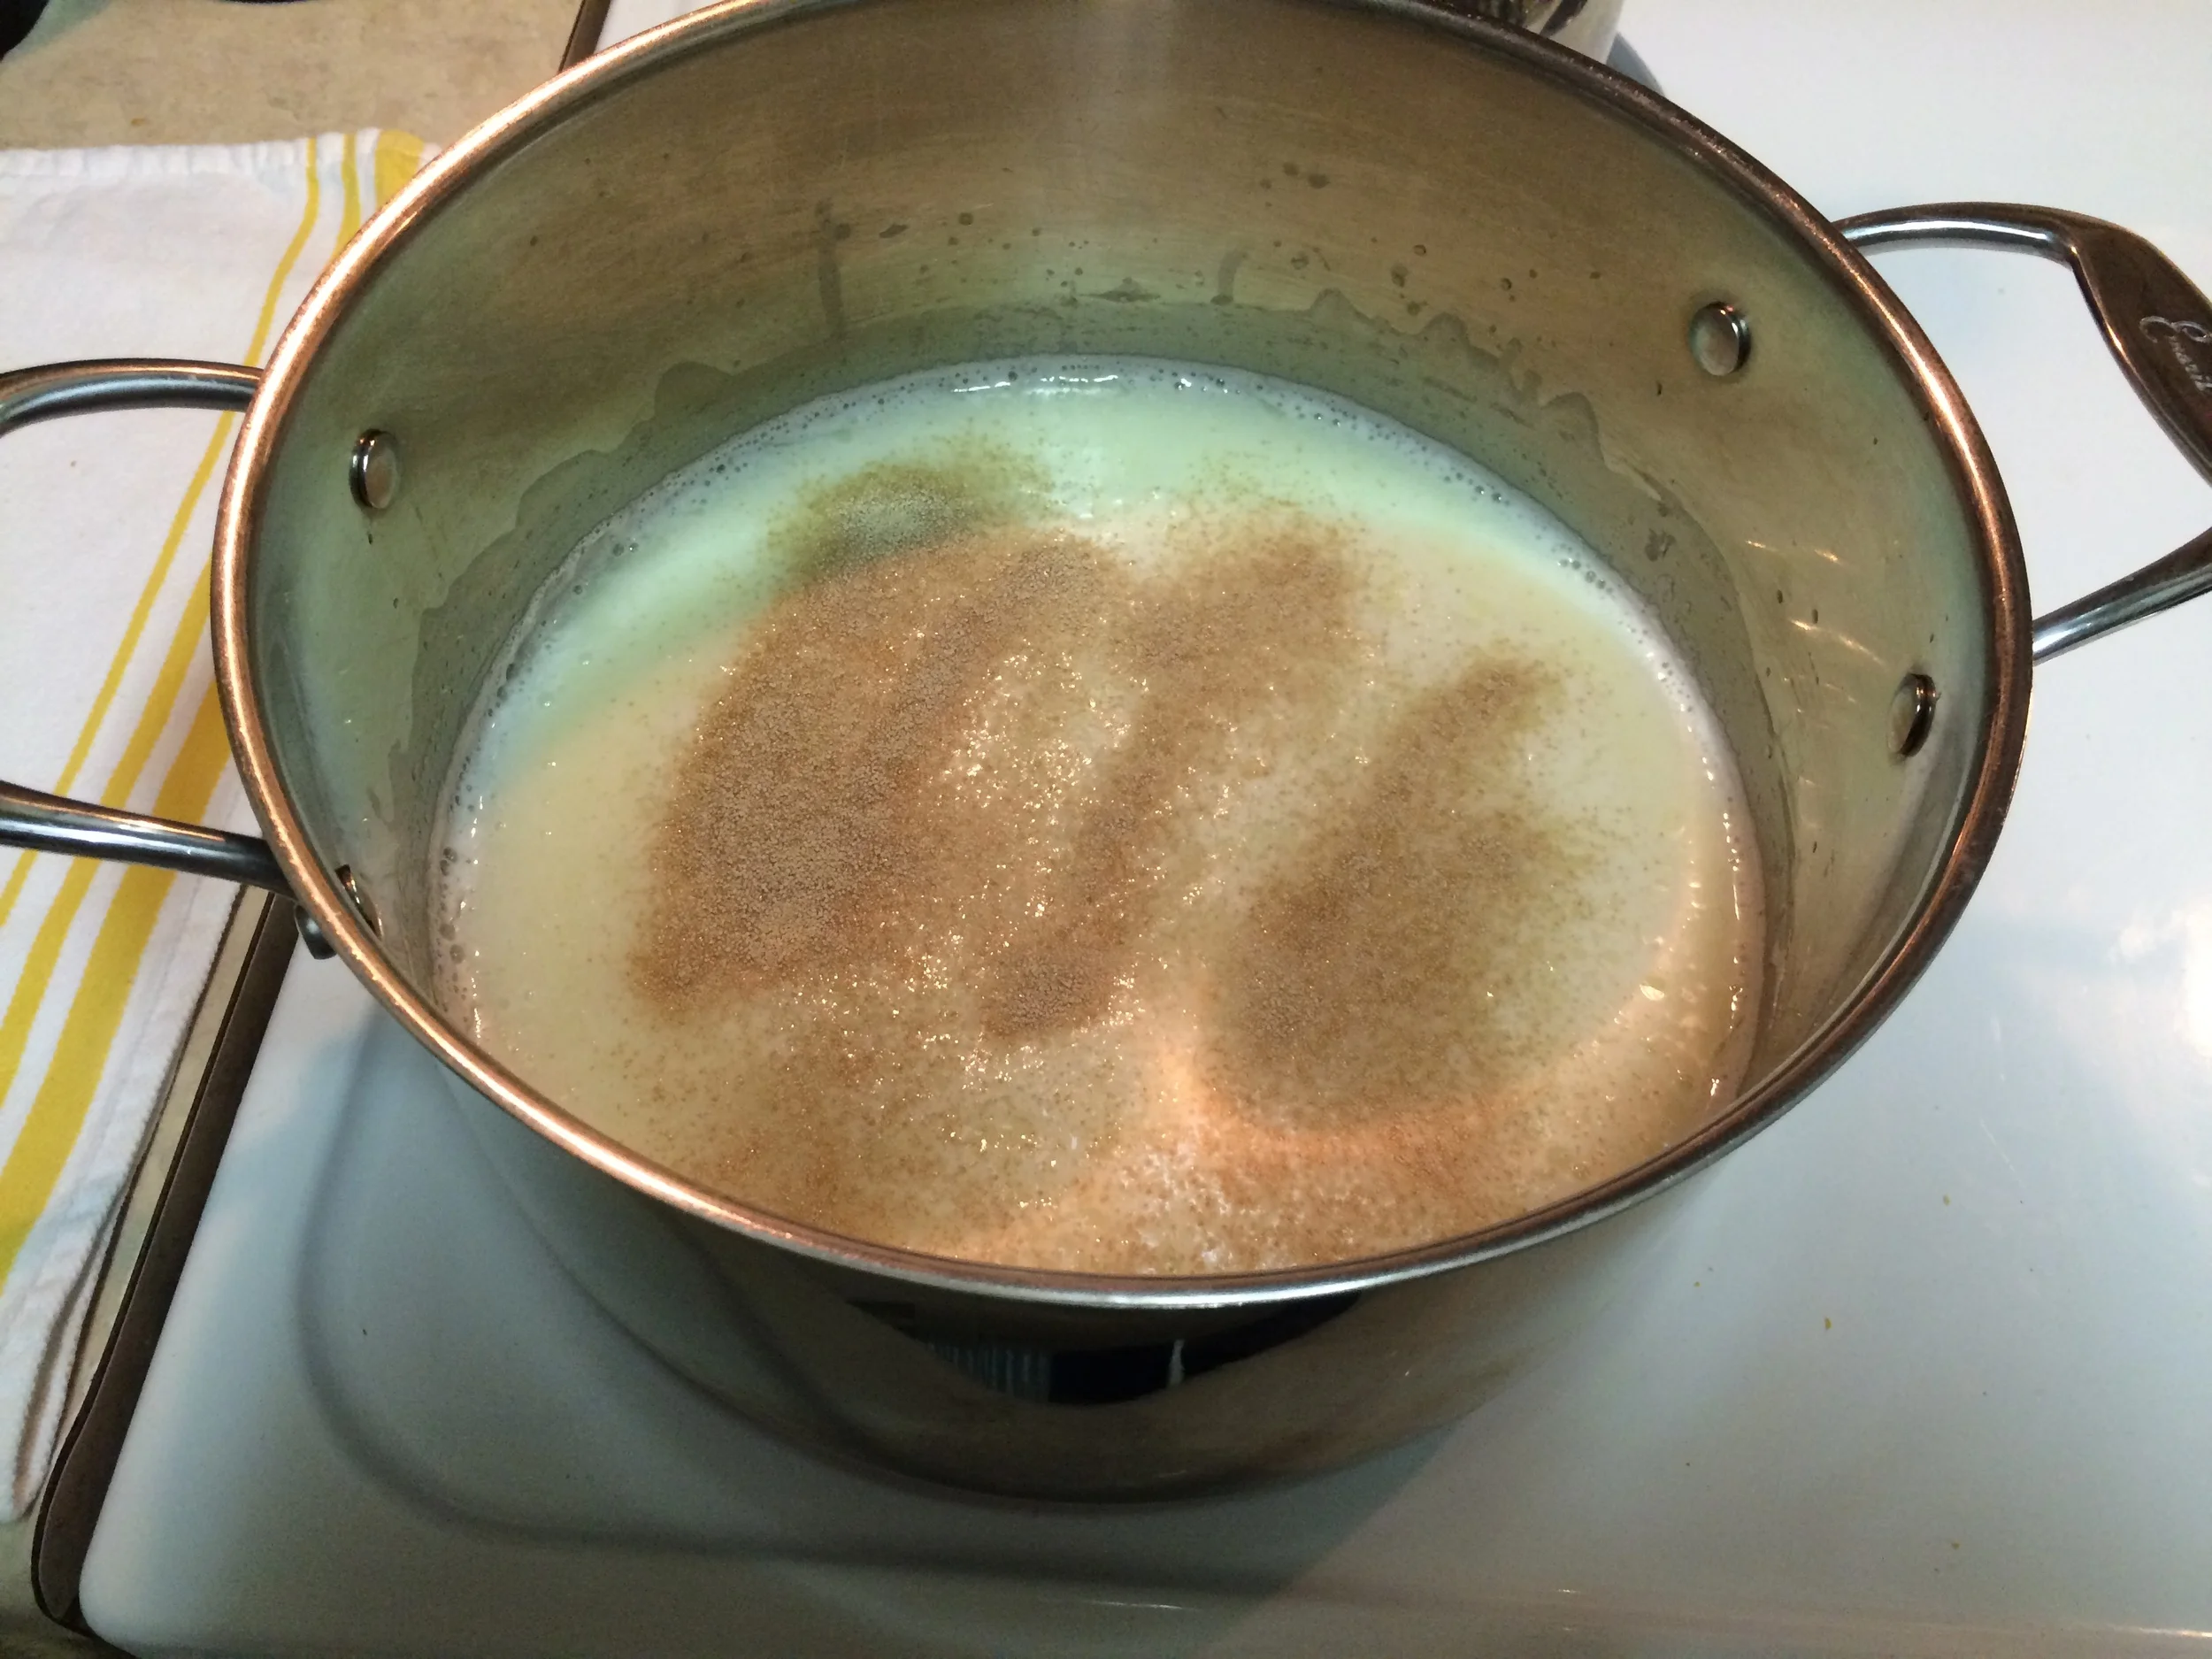
Let the yeast sit for a few minutes and get all happy.
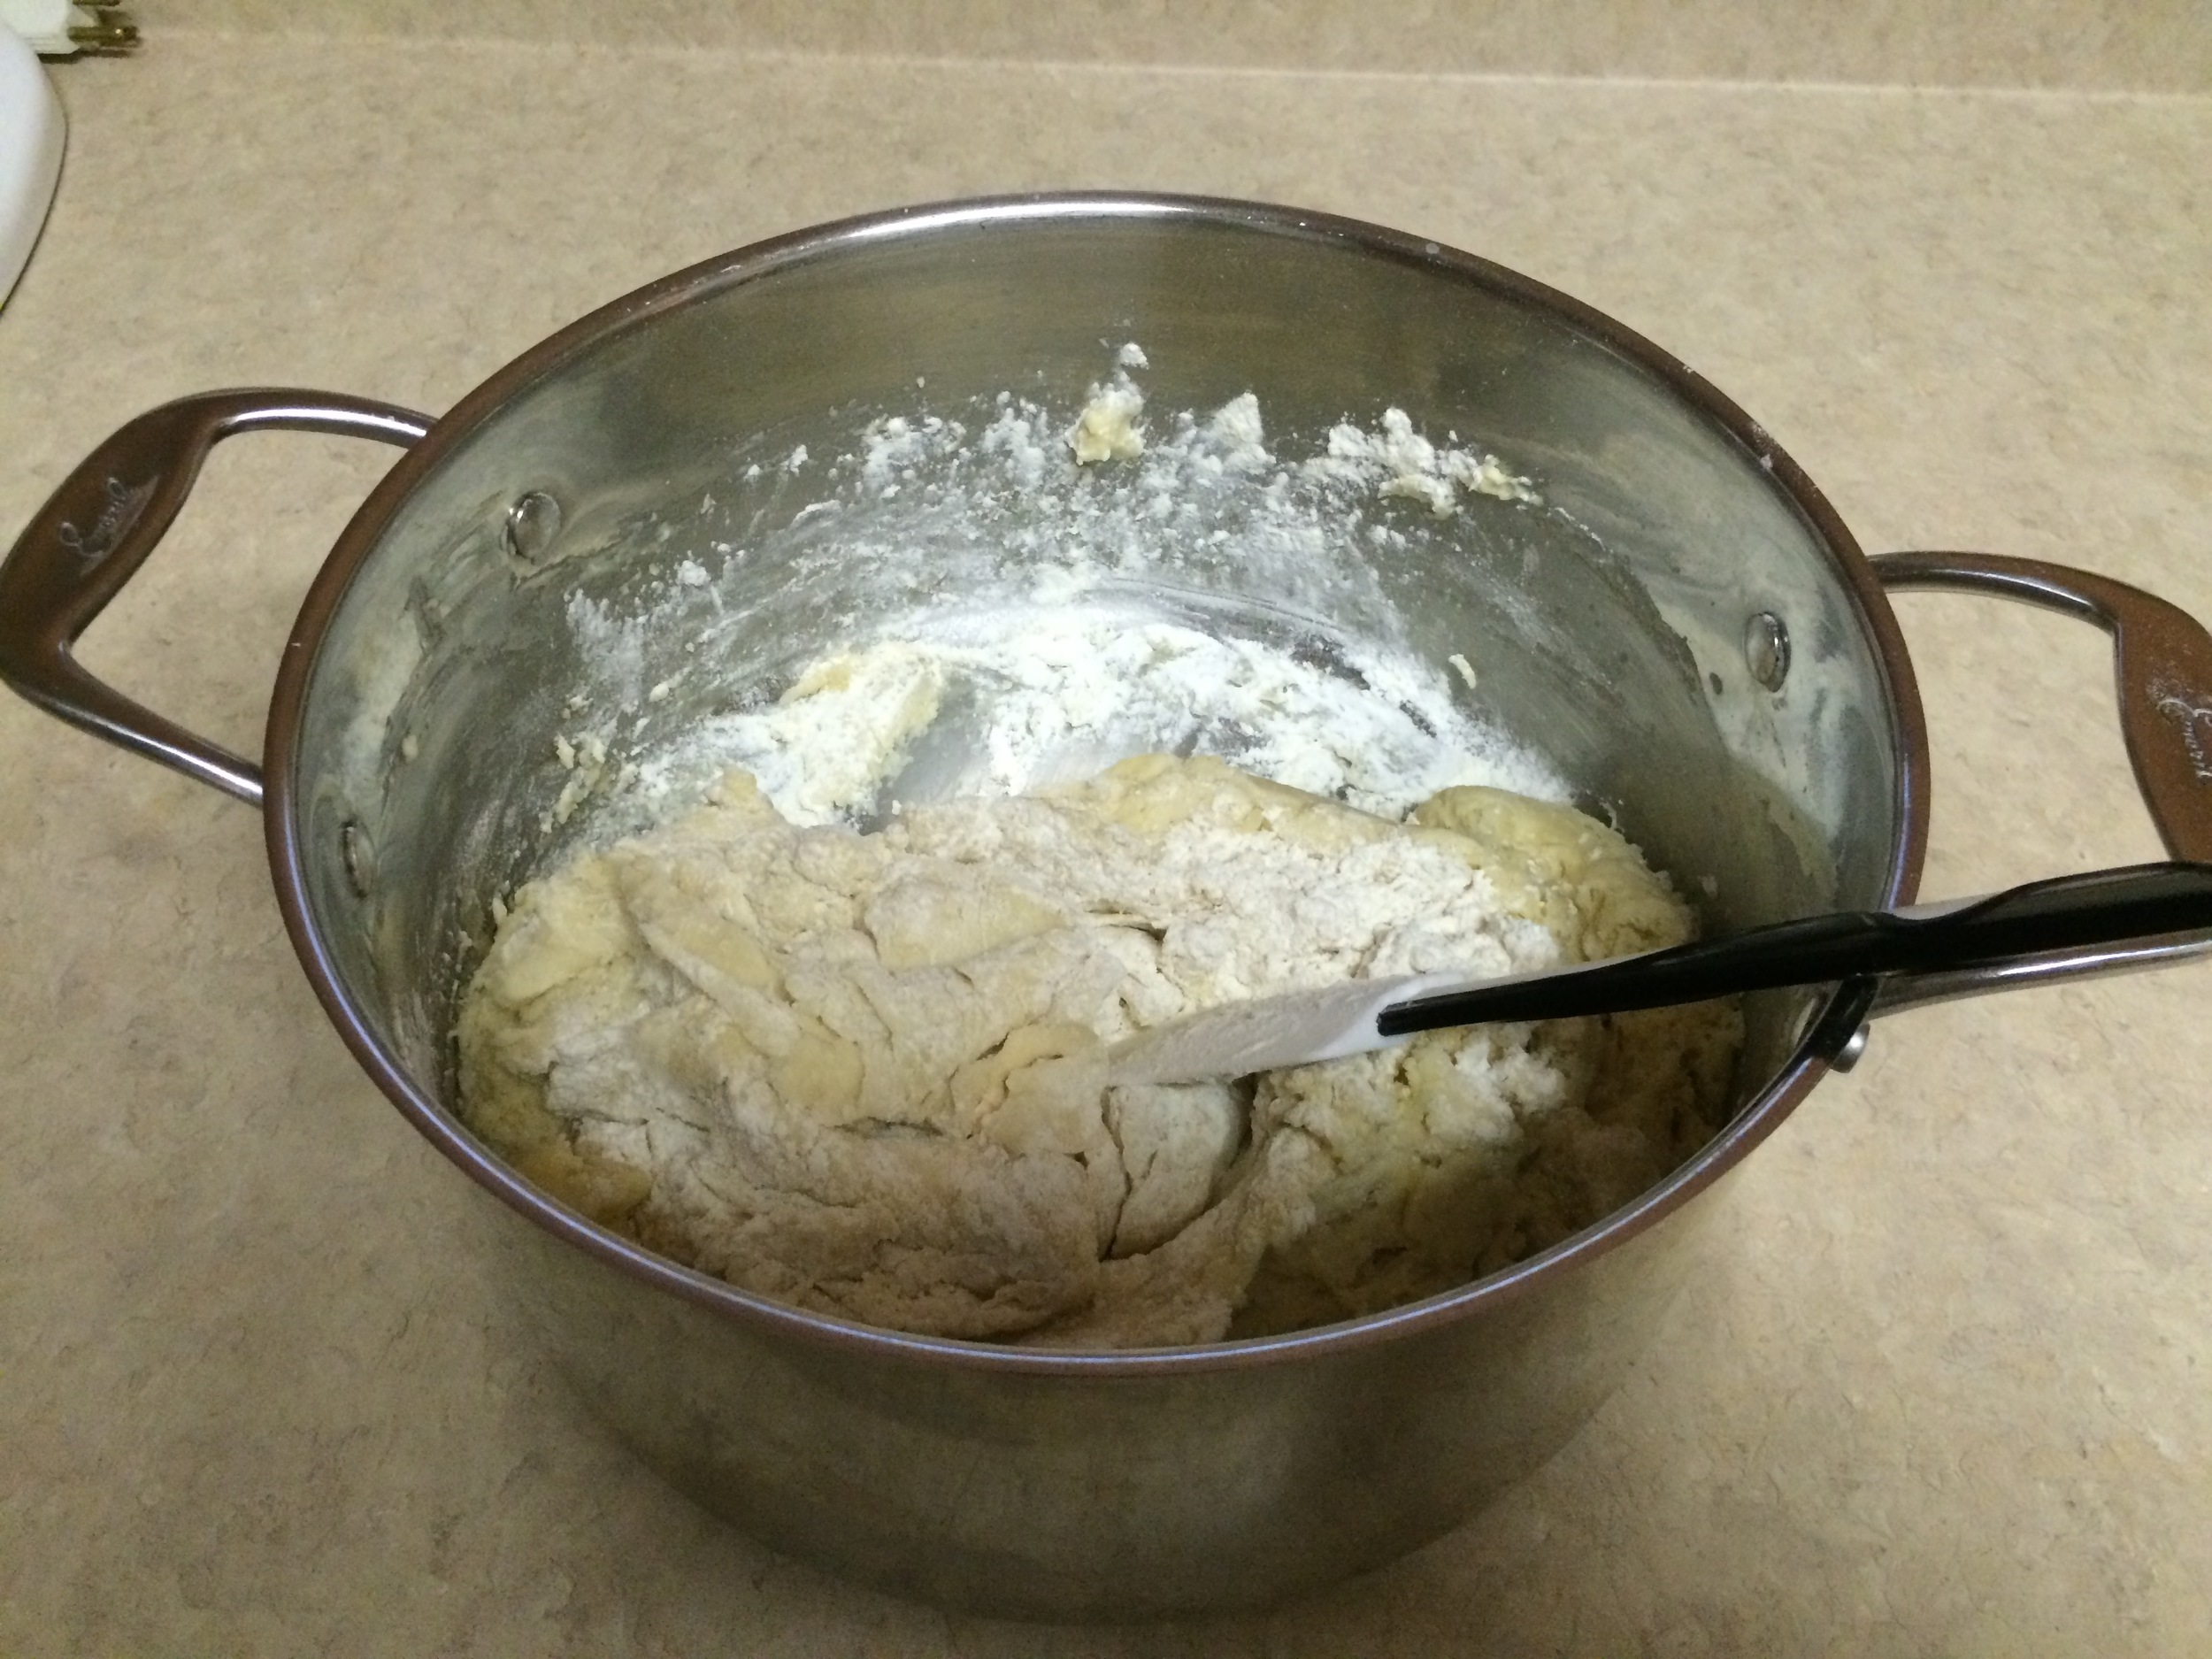
Then add the flour.

Mix together.

Cover with a clean towel and put in a warm place. Let it sit for an hour and let the dough rise.
Next you're going to add a bit more flour as well as salt, baking powder and baking soda.
Mix everything together well.
Now it's time to roll the dough out.

Flour your surface well. If you're going to use your kitchen counter (like moi), please make sure it's clean AND dry.
The idea is to get a large rectangle out of your dough. Ignore my rather strange shape. I was somewhat constrained by space and also by my lack of dough-rolling ability. Also make sure you don't get your dough too thin (or thick). You want a nice even layer.
Time to add the orange marmalade. Don't be like me and put the melted butter on first. It turns out that orange marmalade doesn't spread well over butter. But the good news is that I learned my lesson and can pass that onto you.
Spread the orange marmalade over the dough. With my half-recipe I used a whole jar. I also selected the lower sugar type, which worked out well. I don't like things too sweet and we're going to be adding more sugar anyway so I thought it wasn't necessary.
Next add your melted butter.
Finally, sprinkle brown sugar generously over the marmalade and the butter.

Looks lovely, eh?
Next, a twist that I added to the Pioneer Woman's original recipe. I also sprinkled cinnamon and nutmeg over the brown sugar for a little extra and it was delicious. I highly recommend adding this step in.

Time to roll this baby up!
Starting on one side, carefully roll up the dough tightly. If it's too loose it won't cut into rolls well.

You're going to end up with one long tube of dough and deliciousness.

Your tube will probably look better than my tube. But however your tube looks is okay! It'll still taste amazing.
Now we're going to cut the tube into one inch rounds and stick them in pie pans. You can use regular pie pans OR do what I like to do and buy disposable pie pans for super cheap. Then if you do give the rolls as gifts, you don't ever have to get them back. And even better, you don't have to clean them! I'm a huge fan of not cleaning sticky things.
You will want to add a little melted butter in the bottom of each pan.

Then, cut the tube into your one inch slices. I've found the best method is using a serrated knife.

You want to make sure to pack the rolls tightly into the pans, too.

Next, place a clean towel over the pans of rolls and let them rise for another 20 to 30 minutes. You'll get much better results if you can place them in a warm location (but not too warm--you don't want to bake them just yet!).

After the rolls have risen one last time, bake them at 400 degrees for 15 to 18 minutes until they're a light golden brown.
The Pioneer Woman also creates a yummy glaze for the rolls, which she pours on right after they're done baking, but I felt they were sweet enough as it was and so I skipped it. But you can definitely add it if sugar is your jam.

Beautiful!
And so unbelievably tasty. A nice change from the typical cinnamon roll, I think.

Remember that Getting Lucky is coming out soon--December 1!
I'll be doing a bunch of guest blogs AND I'll be hosting an awesome giveaway to celebrate the release!